# IBC Transfer to Gravity Bridge via Web Portal
Note
Refer to the official Blockscape Gravity Portal HowTo (opens new window) for generic usage
Originally published on Medium (opens new window)
This guide will cover sending FUND from Unification over IBC to the ERC20 wFUND contract on Ethereum mainnet, and back again via the Web Portal. The guide assumes any wallets the reader has (Unification, Gravity Bridge and Ethereum) are sufficiently funded to cover any gas fees on the respective chains in addition to the FUND being transferred.
# Introduction
Bridging FUND to wFUND (and vice versa) will require a Unification wallet within Keplr which can be used alongside the Unification main Web Wallet
The Keplr wallet can be downloaded through the following link: https://www.keplr.app/download (opens new window)
Once the Keplr wallet is installed & backed up, we can start the process through the Gravity Bridge portal (Your Keplr Unification wallet can be recovered in the Unification Web wallet if desired)
This can be done by accessing the "Use Gravity Bridge Here" link at https://www.gravitybridge.net/ (opens new window)
Alternatively the link can be accessed directly from
Gravity Bridge Portal: https://bridge.blockscape.network/ (opens new window)
It's important to note that bridging FUND to wFUND is a two-step process:
- Unification <-> Gravity Bridge
- Gravity Bridge <-> Ethereum
Together, we'll review/break down each step of this process.
# FUND -> ERC-20
# 1. Bridge FUND from Unification to Gravity Bridge
To start to bridge Fund from Unification to Ethereum, we will initially click on the drop-down to open the menu/connect the Keplr wallets

In the dropdown, select Unification:
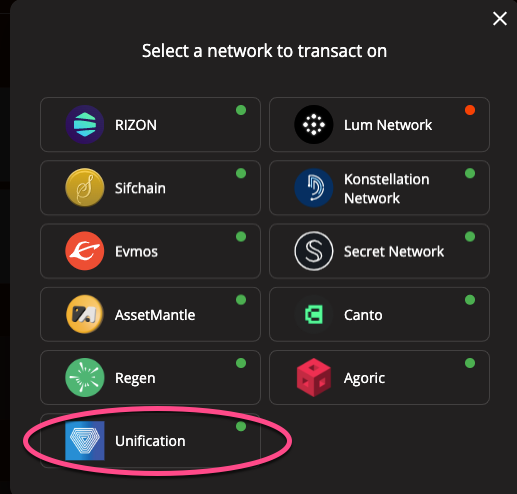
And once selected, press "connect"

This will prompt Keplr to add Unification to your Kepler wallet
You should see the following prompt and accept it. As previously noted, this will carry the needed parameters for a successful transfer in future steps.
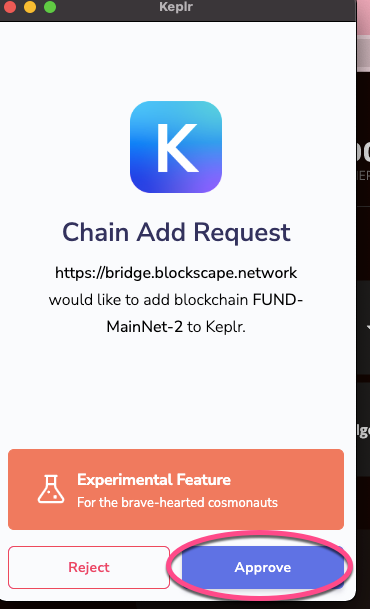
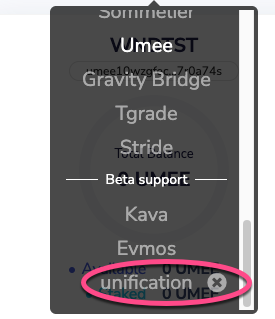
Once accepted, this action will add the Unification wallet in the bottom of the list, which you can confirm by scrolling down
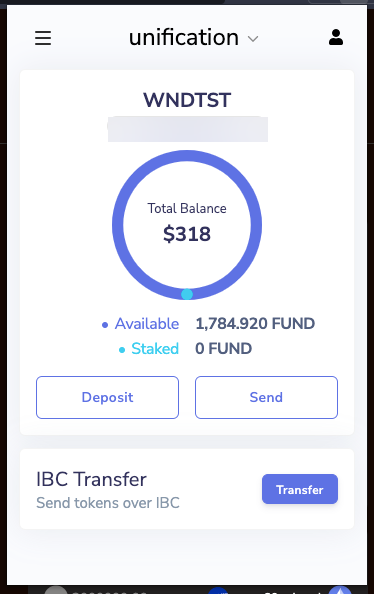
Congratulations! You are now ready to start the first step of the bridge!
Note
If you have an existing connection to Unification in Keplr and are having issues connecting, you can delete the configuration from Keplr (reference the circled "unification (x)" in image above), and follow the previous steps to re-add it.
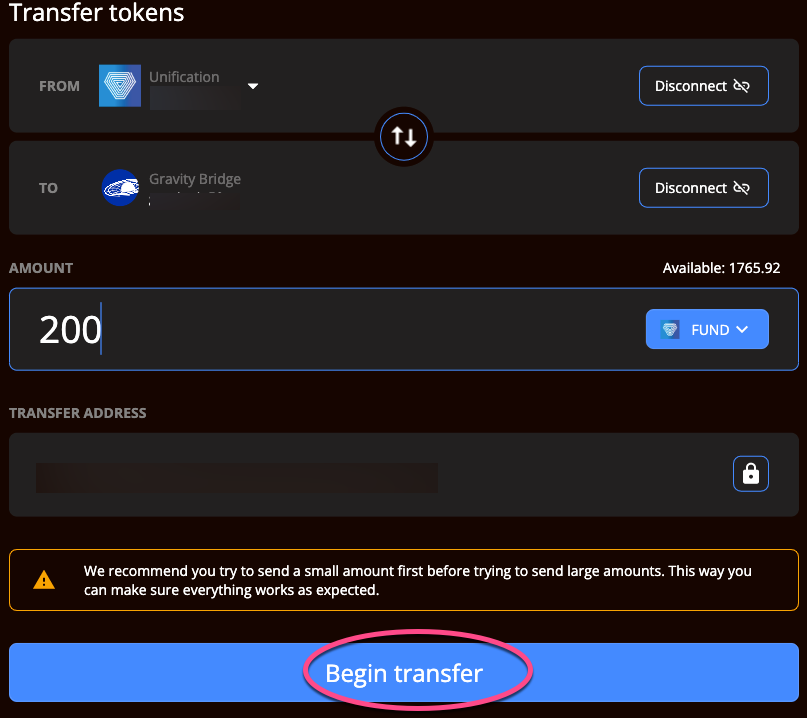
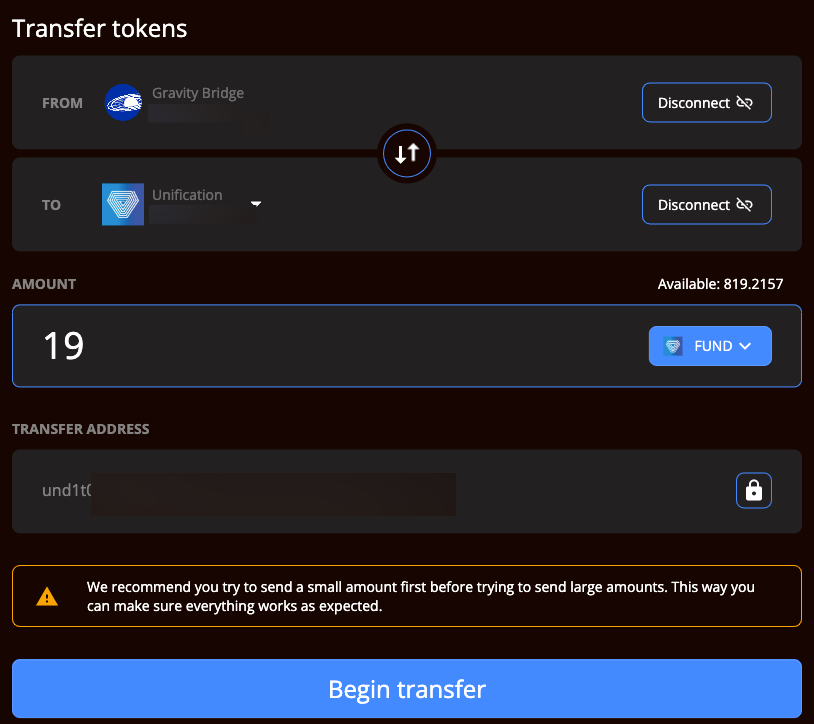
Once both networks are selected, (assuming you have transferred funds to the wallet) you can simply select the amount of FUND and hit "Begin Transfer"
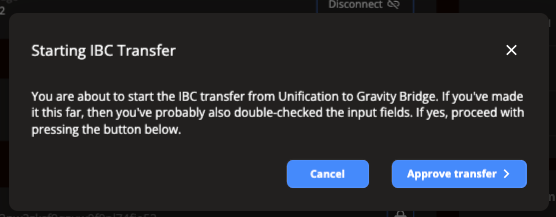
When executed, you will see the following prompt
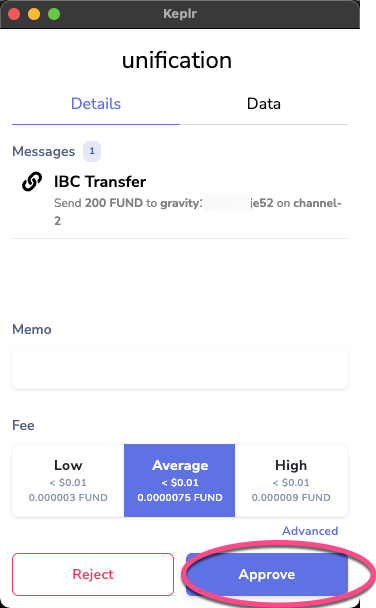
The action should prompt a call in your wallet which you can approve:
Once accepted, you will see a confirmation message
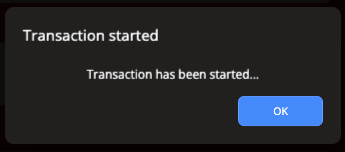
If executed correctly, this step will be fairly quick and result in a confirmation message similar to below:
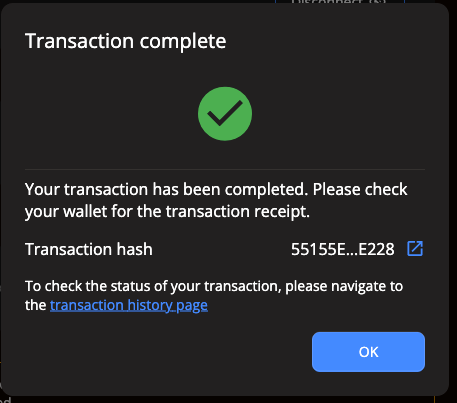
And the status of the transaction will show in the transaction history once the ticket is confirmed which will change to a green check after the fully processed

Congratulations! You have successfully bridged your FUND to Gravity Bridge and are ready to start the second step of the process to wFUND/Ethereum!
# 2. Bridge FUND from Gravity Bridge to Ethereum
Now that we are familiar with Gravity Bridge, the steps of this process will be rather simple/familiar.
Once ethereum is chosen as the destination, you will need to connect your metamask account to the site as normal:
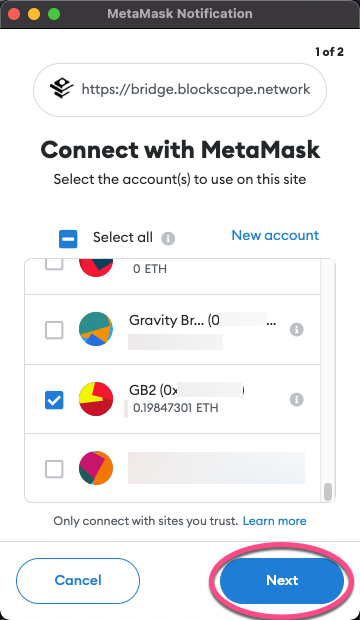
Following this step, we select Gravity Bridge as the source and Ethereum as the destination, enter the amount of FUND to transfer and the desired bridge fee option
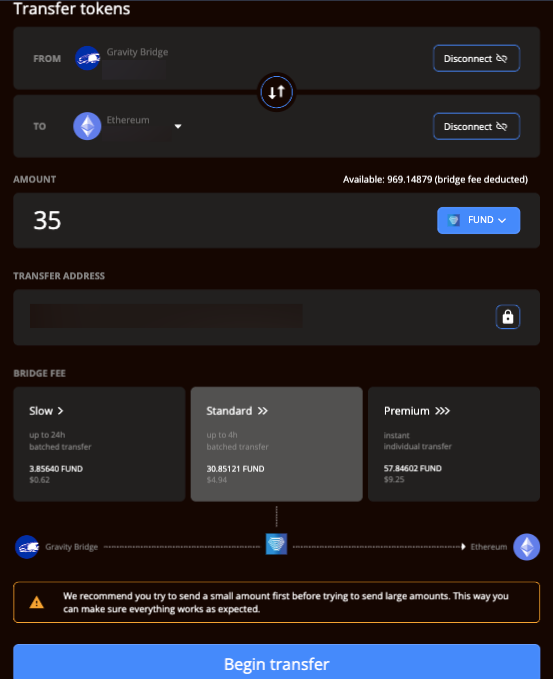
The only additional point of consideration will be the speed of the transfers
As transfers are batched in different stages, the timing of the transfers is an estimate.
In our experience so far, standard transfer has been slightly faster than the estimate and the Instant, slightly less!
Once confirmed, you will see a notification similar to below, which you can approve
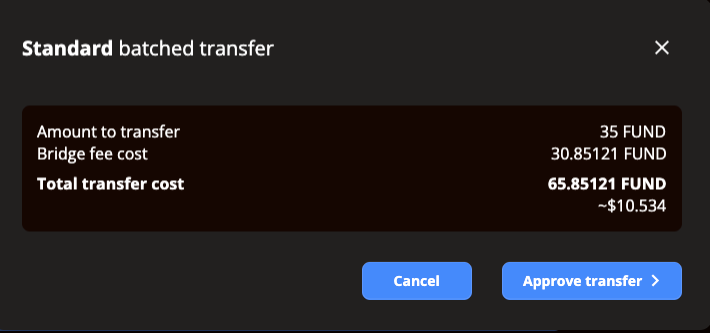
Once approved, another wallet call will be made to approve:
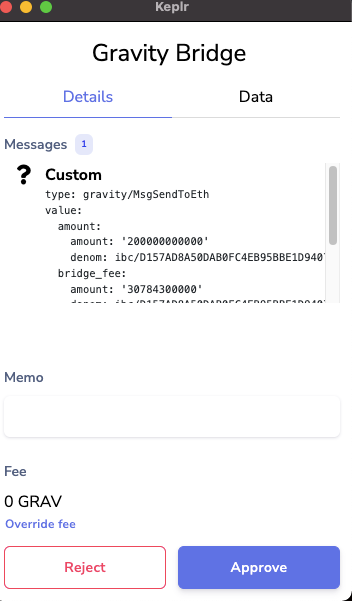
Followed by a confirmation of the batch
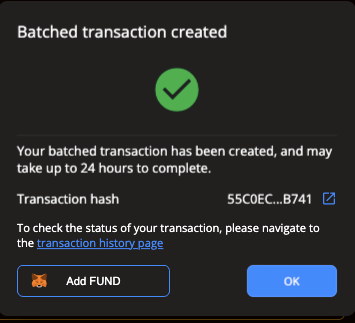
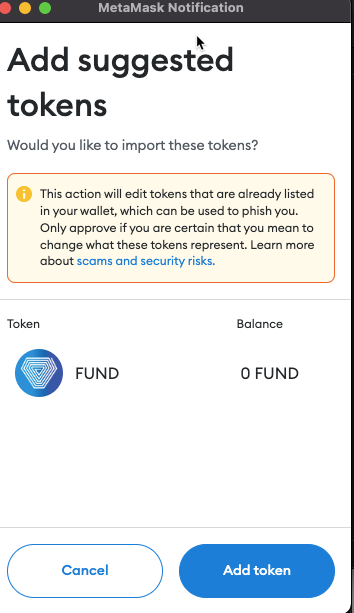
At this point, you can add FUND to your Metamask wallet for easier access
The status of your transaction can be seen on the Gravity Bridge Transactions pages at https://bridge.blockscape.network/history (opens new window)

and once completed, the FUND will reflect in your Metamask Wallet!
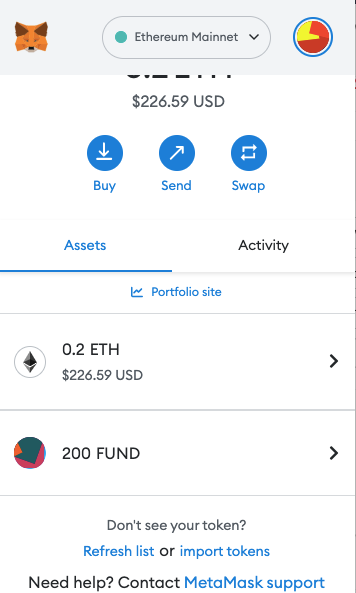
Congrats! Your FUND has officially arrived and is ready to use on Ethereum!
# ERC-20 -> FUND
Bridging wFUND back to FUND will follow the reverse of the same process described above
Ethereum -> Gravity Bridge -> Unification
# 1. Bridge from wFUND to Gravity Bridge
Starting at the Blockspace portal, we can simply choose our wallet for Eth+ GB
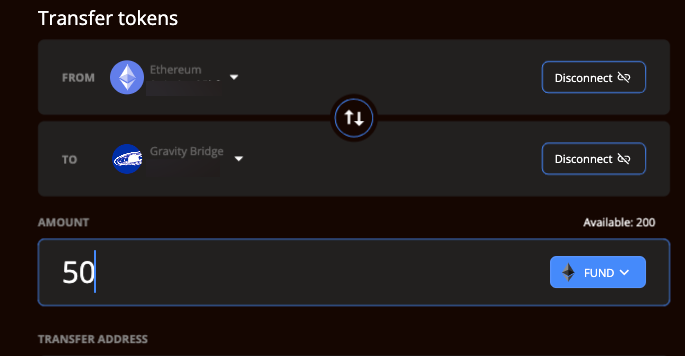
To find FUND, you can search by the contract address below:
0xe9B076B476D8865cDF79D1Cf7DF420EE397a7f75
And confirm on etherscan at
https://etherscan.io/token/0xe9B076B476D8865cDF79D1Cf7DF420EE397a7f75 (opens new window)
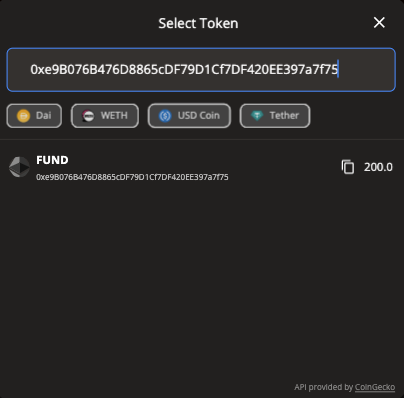
Once FUND is selected, You will need to give permission to access FUND through the following two prompts
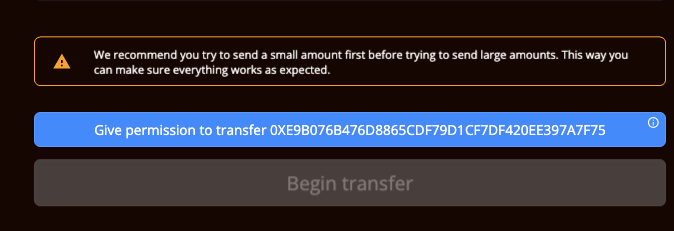
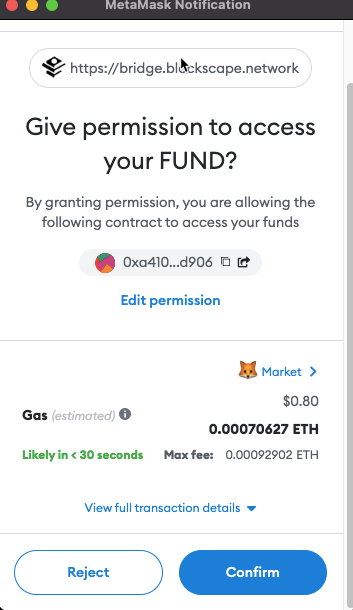
With the approval processed, you will be able to start the transfer
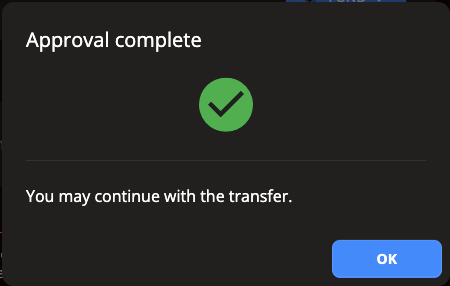

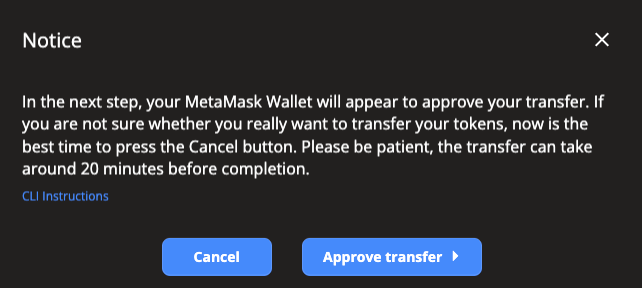
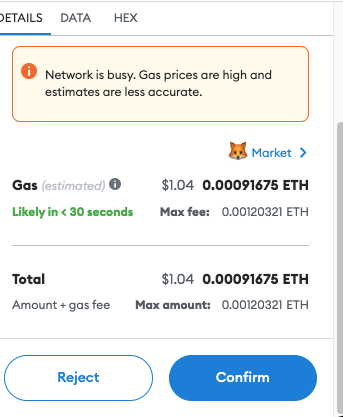
Finally you will approve the transaction in your Metamask wallet:
And when processed, a confirmation similar to the one below will appear:
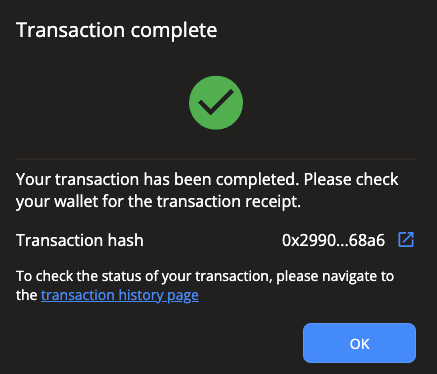
Now is another good time to go for a coffee, and once returned your transaction should show completed as indicated by the checkmark in the status page and the FUND back in your GB wallet. At the time of writing, the transaction should be complete in 96 block confirmations.

# 2. FUND from Gravity Bridge to Unification
The process of this transfer is identical to our first transfer with Gravity Bridge selected as the source and Unification as the destination
Once completed, your FUND will once again be visible in your Unification wallet and exchangeable to your Unification web wallet if desired!

